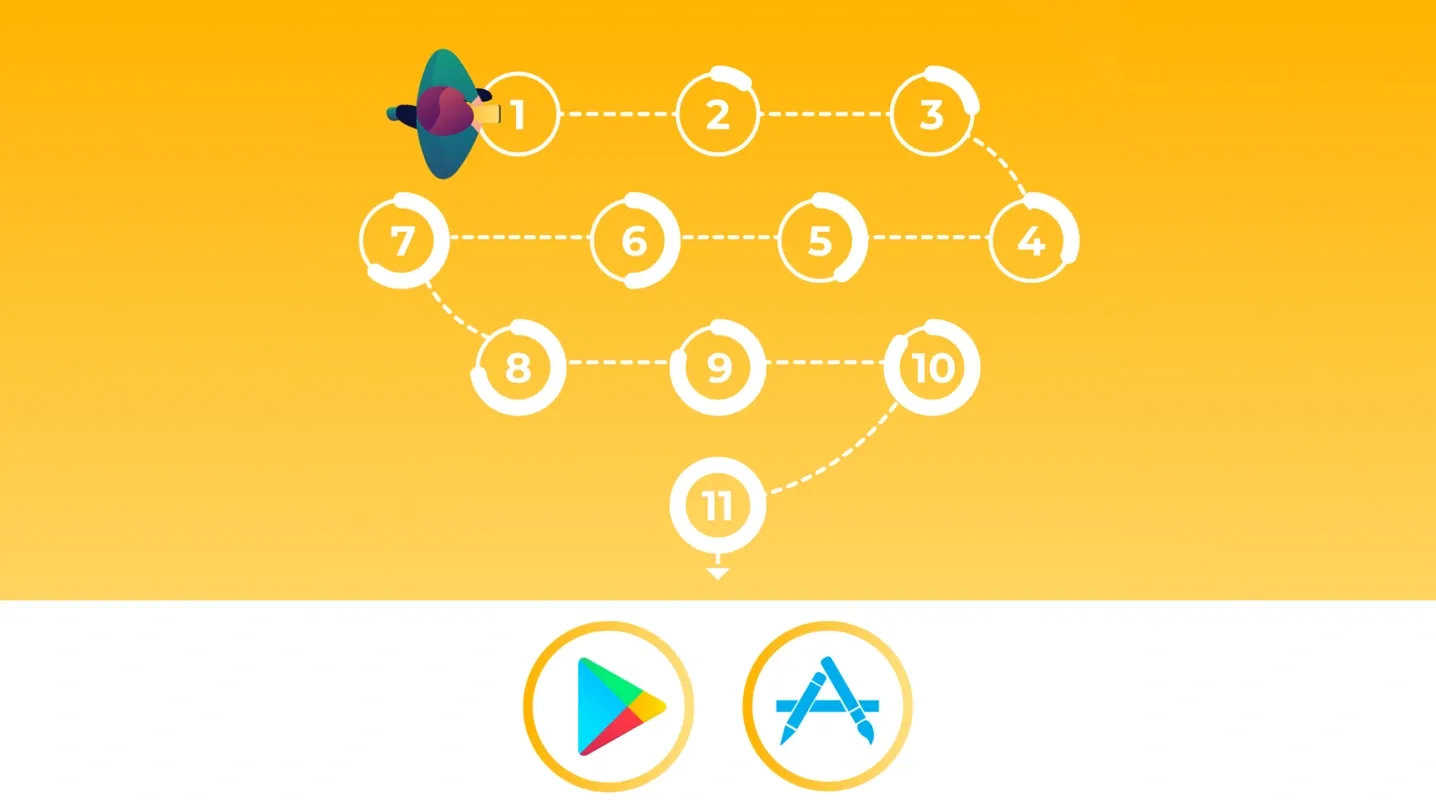
Beginning a business with a white label app solution, app owners often do not think of app submission to the stores as of a separate piece of work to plan. Not really clever: submitting your app to the stores with search-optimized primary listings can make your app visibility great already at the point of the launch.
In fact, at OnDe we do the biggest piece of work on app publish for our clients. You will only have to take care of creating developer accounts on App Store and Google Play and the contents for app’s primary listings. In this article you’ll learn how to do this.
Step 1. Create developer accounts
First, let’s create developer accounts, for both App Store and Google Play. You’ll need them to store and distribute your app. It’s strongly recommended to create a separate developer account — we will need a full access to it and don’t want to make you uncomfortable sharing a password to your personal mailbox.
We need logins and passwords for the both accounts in order to submit your app and keep it always updated. Please, send it to us before proceeding to the next steps. Also, please, do not ever change your logins and passwords for these accounts — otherwise we won’t be able to access it anymore, and that’s not productive at all. 😔
Step 2. Study the guidelines for app listing
Good, time to fill in your app listings. What are those?
- App name on the stores;
- Subtitle (App Store);
- Short and Full description (Google Play) and Description (App Store);
- Keywords (App Store);
- Languages;
- App logo;
- App screenshots;
- Links to your website, privacy policy page, support and marketing URLs (mandatory);
- Contact information.
The first clever thing to do before filling in the listings is to study App Store listing guidelines and Google Play guidelines really well. Both stores make pretty clear what’s okay while submitting your app and what’s not. Both stores also provide information on how to optimize app data to their search engines. Filling in the listings should be based on an app store optimization strategy. Metadata (such as app name, keywords set, etc.) influence apps visibility and, subsequently, it’s conversion rate. Optimizing it already before submitting apps to the stores is strongly recommended.
Step 3. Add app logo and icon
You’ve got the “White label checklist” from your account manager. Now it’s time to fill it in! Take care: all the fields in the document are mandatory to fill in. We start with your company logo and the app icon. Because you’re submitting a white label app, those are crucial: it’s the logo and the unique, recognizable app icons that help clients to recognize your brand among others. Note: Passenger app and Driver app icons should be different. 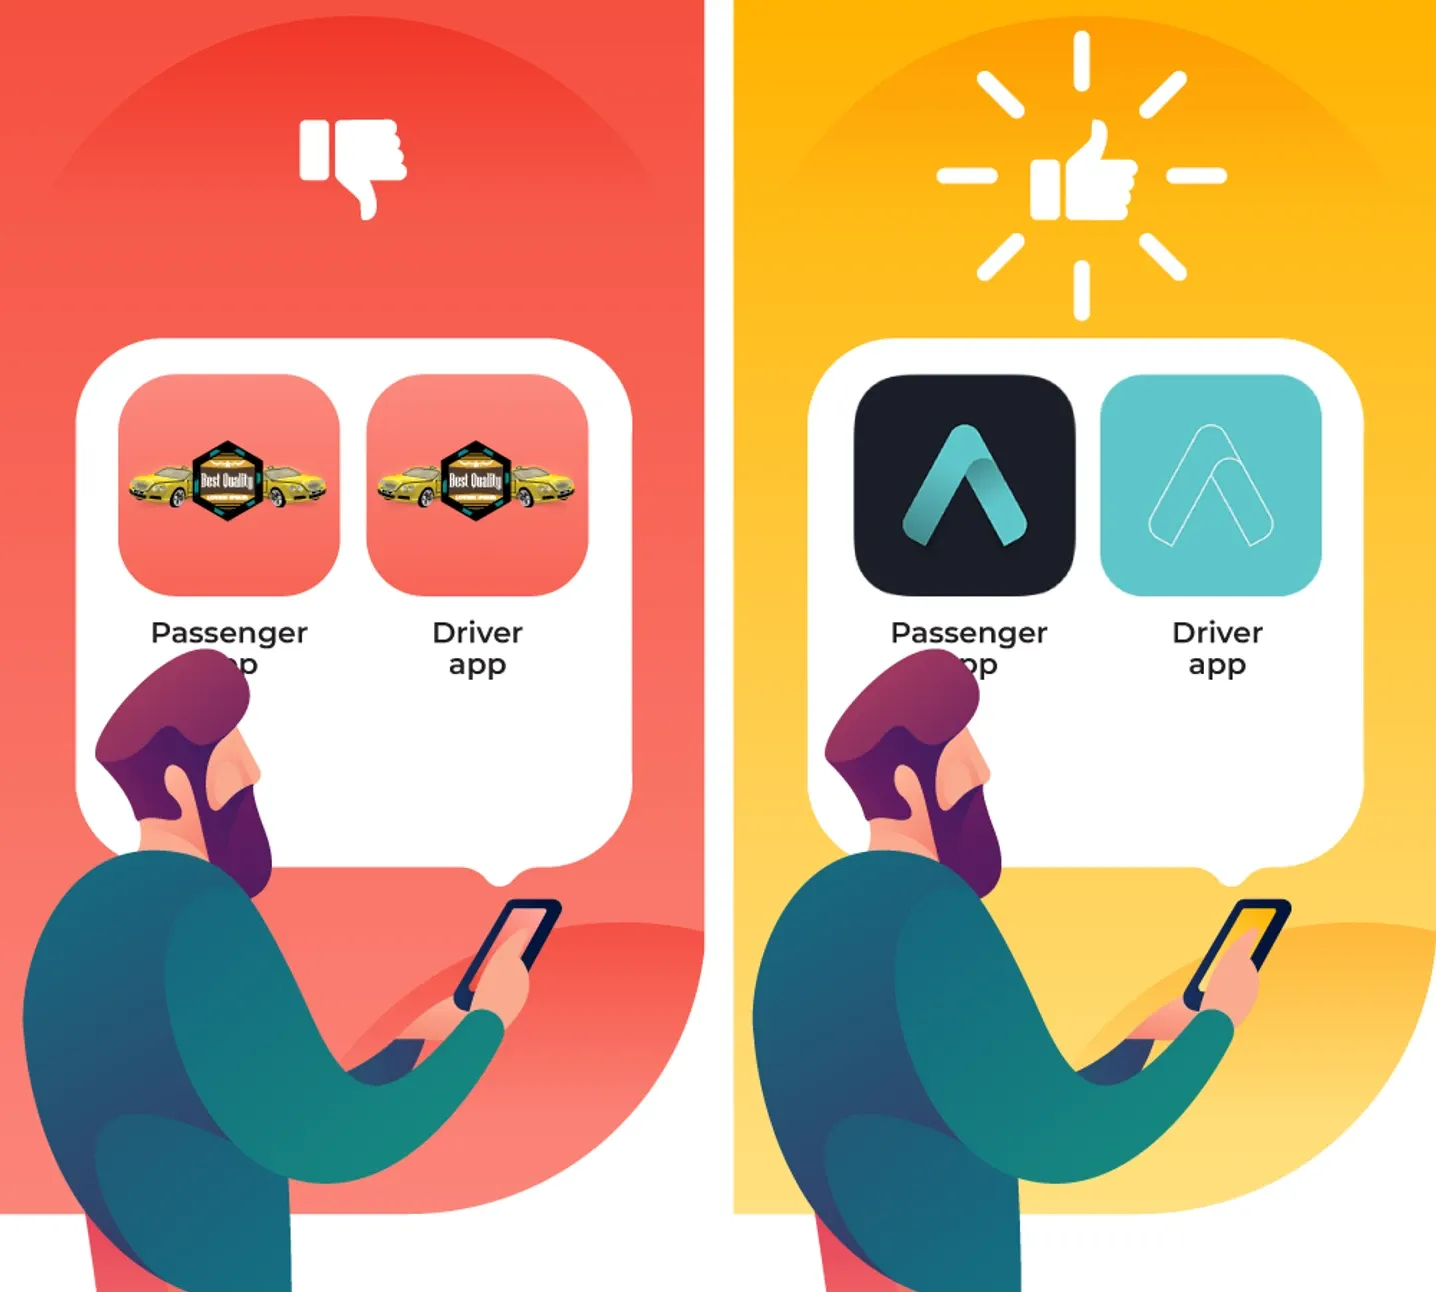
Here are some rules for the images:
- Submit logo in vector format (Adobe Illustrator or any other professional vector graphics editor).
- All logo fonts have to be converted to curves.
- A logo needs to convert nice and easily into an icon.
- A logo needs to convert into monochrome easily.
- A logo should have a usage guide attached.
App icons have to be in vector format as well (.ai, .eps, .pdf, .svg). The following options will do, too:
- .png format with transparency, minimal height 1024px;
- Layered .psd, minimal height 1024px.
In case you add splash screens, take care they meet the following format criteria:
- Minimal size 3840x3840;
- Vector format (.ai, .eps, .pdf, .svg)
- Or raster format (layered .psd).
Images quality is a must, helping your apps to look good. Don’t have a logo and app icons yet? You can submit it later, just mark “Don’t have it yet” in the checklist.
Step 4. Add screenshots
Now, let’s get to the screenshots. Those are extremely important: they give potential customers all the information about app’s functionality. Both Driver and Passenger apps need at least 5 screenshots each (you can add more than 5 though, the more the better 😊). 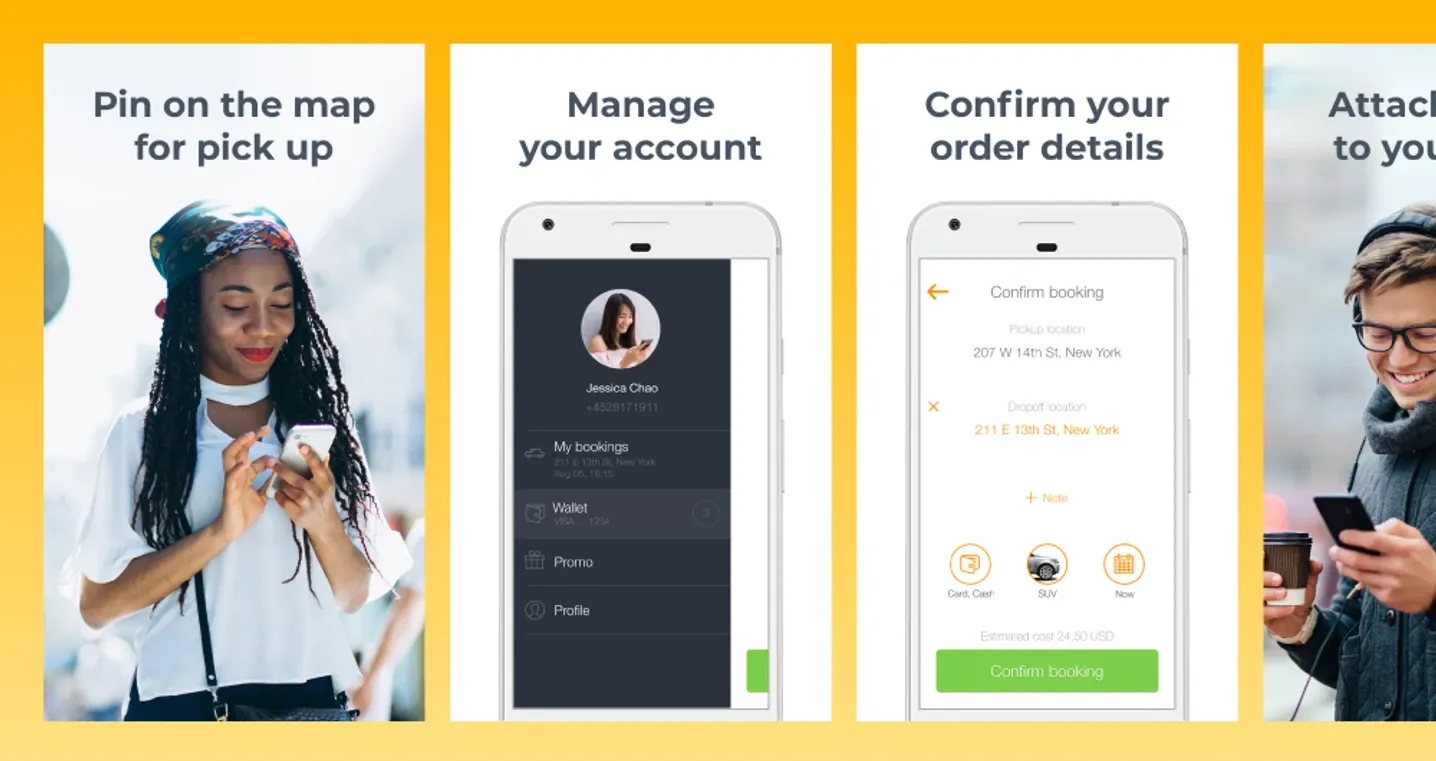
We include default screenshots in the standard branded app plan. However, if you choose for a plan including App Store optimization, you get a whole bunch of really great screenshots with it.
It’s important that the screenshots are explanatory enough. Don’t forget to choose default or mention your own screenshot headers. Headers should describe the particular feature of the app shown on a screenshot.
There are also additional mandatory tabs to fill in while submitting screenshots. Do not leave it blank — they make your screenshots personalized and help to attract users!
Step 5. Set the language
In the first column of the checklist you have, choose the default language of your apps. The second and the third columns are there for you to select additional languages if you need app descriptions in them as well.
Note: Providing description translations in the languages chosen is your own task, we cannot translate or localize app metadata for you.
Google Play supports more languages than App Store — this is why sometimes you won’t be able to find your language in the App Store list. If this language is not supported by Apple but is supported by Google, just type its name in the “Language” field and provide a translation. Description of your Android apps will this way be available in the language you need.
Step 6. Add the app name
The first thing to do before declaring your app’s name is to check out if the name you have in your mind is unoccupied. You can search the web for it yourself, or we can do it for you to make sure the app’s name is unique.
Next, see if a website domain with such name is available, and if it’s possible to create a page with this name on Facebook, Twitter and any other social media platforms where the company should be present.
Some app owners prefer add key phrases to the app name on the stores. The only problem is, Apple doesn’t really approve of this practice. 😒 Check out our app optimization guides for App Store and Google Play to do this right.
Step 7. Set the relevant keywords and descriptions
People use keywords in app stores to find an app fitting their needs the most. Optimizing keywords set and saturating app metadata with the relevant key phrases helps people to find your app. 
Use special tools to find the most relevant keywords for your app. At the beginning stage, avoid using “too popular” words: until the app gets a high conversion rate, competing for popular words will only keep it down in the ranking. Start with unique keywords with a not-too-high volume. While setting the chosen keywords, follow the rule “one keyword=one word” (e.g. “taxi,Bogota” instead of “Taxi in Bogota”). Separate keywords with commas, leave out the spaces (e.g. taxi,Bogota).
Check out the best practices on writing app metadata in our ultimate optimization guides for App Store and Google Play. Take care: the visibility weight of different types of metadata differs, so make sure the most “weighty” metadata parts are keywords-saturated — especially for Google Play.
Step 8. Provide website links
There are several links required by the app stores while submitting an app:
- Website page URL;
- Privacy policy page URL;
- Support page URL;
- Marketing page URL.
The first two are absolutely mandatory. Submit active links only: each URL will be automatically verified by the stores. Your Privacy policy has to be up to date: for instance, companies working with European citizens should have a GDPR-compliant Privacy policy.
In case you don’t have Support and Marketing URLs yet, fill in your website URL again in these fields. You can catch up and provide this information later.
Step 9. Fill in additional listings
Additional listings section is optional to fill in. In this part of the checklist, you can leave the company’s email and a phone number. This information will become available on the app page on the stores as soon as the apps will be approved. In the “Distribute in these countries” field, you can list countries where the apps should be available. We advise to leave this field untouched: who knows to which countries your business will expand in the next 10 years. 😏
Step 10. Fill in contact information
In the contact information chapter you can leave the company details in the passenger app and driver app so that clients and employees could reach out. An email, a phone number and social media account links you set here will be shown in the “Get in touch” tab of the app. Links to “Terms” and “Copyright” will be available in the “Legal” tab.
Step 11. All set! Go rock the market!
Once you fill everything in, check it once again. Do all the fields content the required information? Won’t you regret the app name? Is the metadata optimized enough for the launch? Yes? Then send it to us!
We’ll upload your app to your developer accounts on App Store and Google Play, and keep them updated all the time. You see? No sweat, and yet your apps come to stun the market. 🚀
Like the article? Share it with your friends!
Related posts
-
 App Store Connect analytics is a treasury of data on your app performance. And: you can use this data just after submitting your app to the Store. Learn how to get the most valuable insights from App Store Connect.
iTunes app analytics: free Eldorado of ASO ideas
-
 Doing your best for app store optimization? Eager to discover all ins and outs? We’ve got one golden tip to share — not many app owners know about this optimization trick, and not many use it. Read and learn more!
Hacking mobile app promotion: one little thing nobody knows of
-
 Mobile app promotion requires serious lead generation marketing efforts. Optimizing your app is just one way to get more installs. But what are the other possible traffic sources for increasing app installs? We’ve collected the best ones for on-demand businesses.
Increase app installs and not lose your mind